
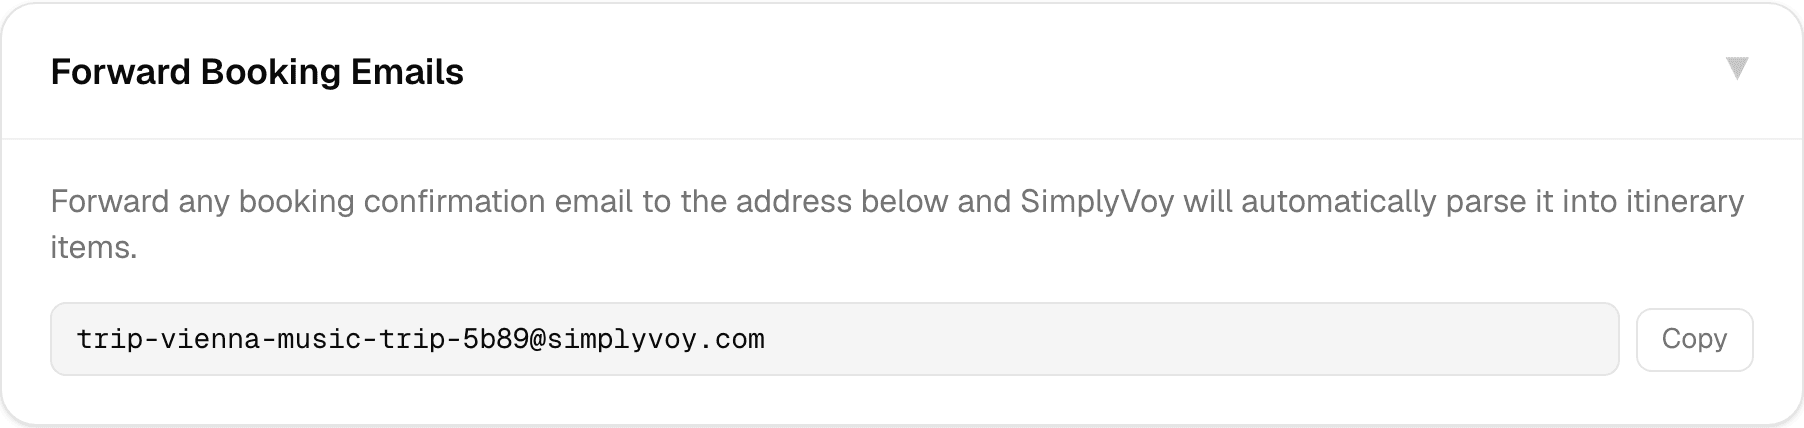
Step 1 of 2 — Every trip gets its own private forwarding address, in Settings.
How to Forward a Booking Email to Auto-Import It
The fastest way to build an itinerary is to not type anything at all — just forward the confirmation emails you already have.
Step 1 — Find your trip's forwarding address
Open a trip's Settings tab and find Forward Booking Emails. Every trip gets its own private, unique address (something like trip-vienna-music-trip-5b89@simplyvoy.com). Tap Copy to grab it.
Step 2 — Forward your confirmation email
From your regular email app, forward any booking confirmation — a hotel, flight, train, tour, rental car, restaurant reservation — to that address. You can forward as many as you like, one at a time.
Step 3 — Watch it appear on your itinerary
Within a minute or two, SimplyVoy reads the email, pulls out the details, and adds a new item to the right day automatically — title, date, time, location, confirmation number, and city are all filled in for you.
What SimplyVoy picks up
- Vendor and title — e.g. "Hotel Sacher Wien"
- Date and time — check-in, departure, reservation time, whatever applies
- Location and city — used for maps and that day's weather forecast
- Confirmation number
- Extra details — anything else useful gets tucked into notes, like a check-out time or fare class
A couple of things to know
- Each trip has its own forwarding address — forwarding to the wrong trip's address means it lands on the wrong itinerary, so double-check which trip you're forwarding to if you're planning more than one at a time.
- Every email you forward is logged, so if something doesn't come through right, you can always add or fix the item manually.
- Prefer files over email? See the next guides on importing an itinerary from Excel/CSV or a PDF.