
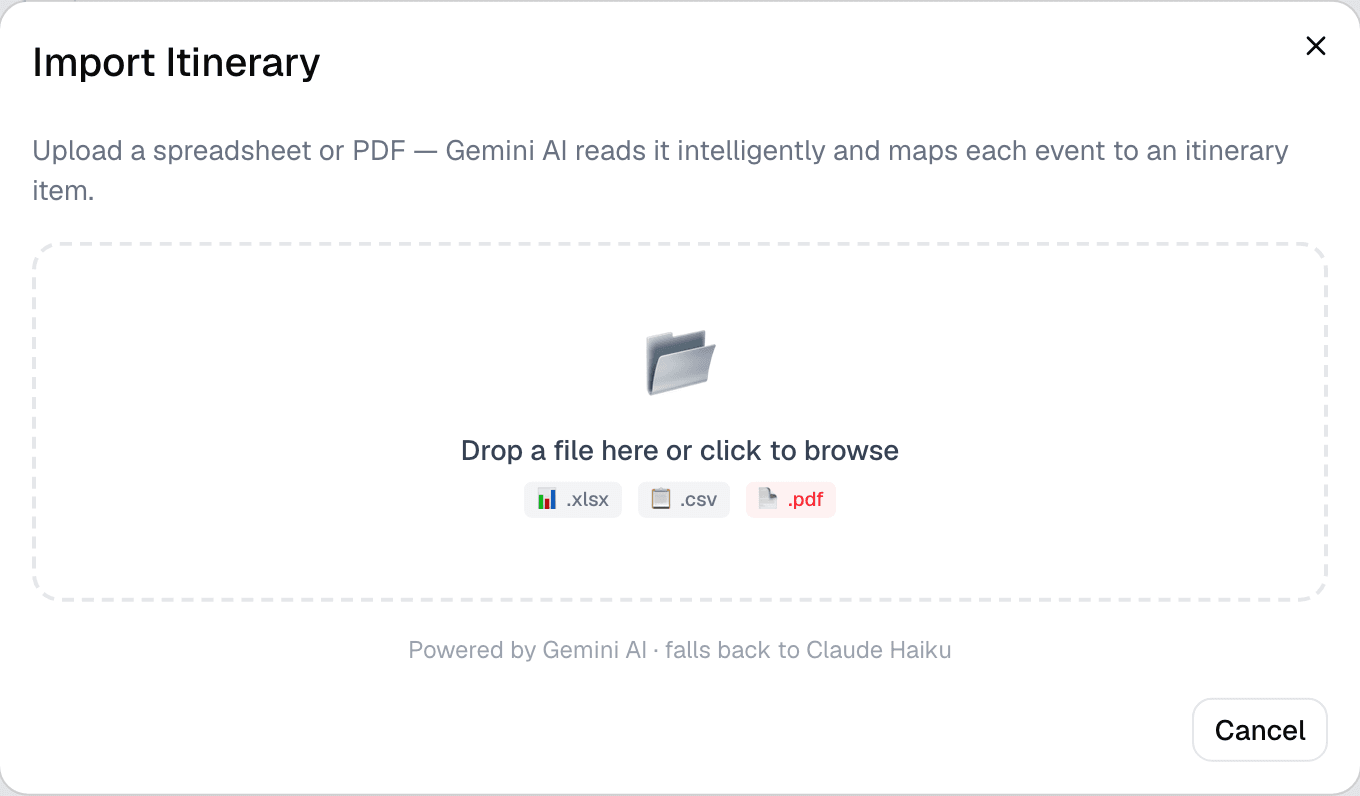
Step 1 of 3 — Open Import Itinerary and drop in your spreadsheet.
How to Import an Itinerary from Excel or CSV
If you've already got a trip planned out in a spreadsheet — your own template, something a travel agent sent, anything — you don't need to retype it.
Step 1 — Open Import Itinerary
From a trip's Itinerary tab, tap Import Itinerary.
Step 2 — Drop in your file
Drag your .xlsx or .csv file onto the drop zone, or click to browse for it. It doesn't need a special format — SimplyVoy's AI reads the spreadsheet the way a person would, looking for dates, times, titles, locations, and confirmation numbers wherever they appear.
Step 3 — Review what it found
SimplyVoy shows a preview of every item it extracted, each with a checkbox. Uncheck anything you don't want, or use Select all / Deselect all. Nothing is added to your trip yet at this point.
Step 4 — Import
Tap Import [N] items. Everything you kept gets added to your itinerary immediately, sorted onto the correct days.
A couple of things to know
- Large or messy spreadsheets (multiple days laid out side-by-side in columns, extra notes mixed in) are usually still handled fine — the AI is built to read real-world travel spreadsheets, not a strict template.
- If a file doesn't parse the way you expect, tap Try another file from the preview screen — nothing has been saved yet at that point, so there's nothing to undo.
- Got a PDF instead of a spreadsheet? See the next guide — the same dialog handles PDFs too.