
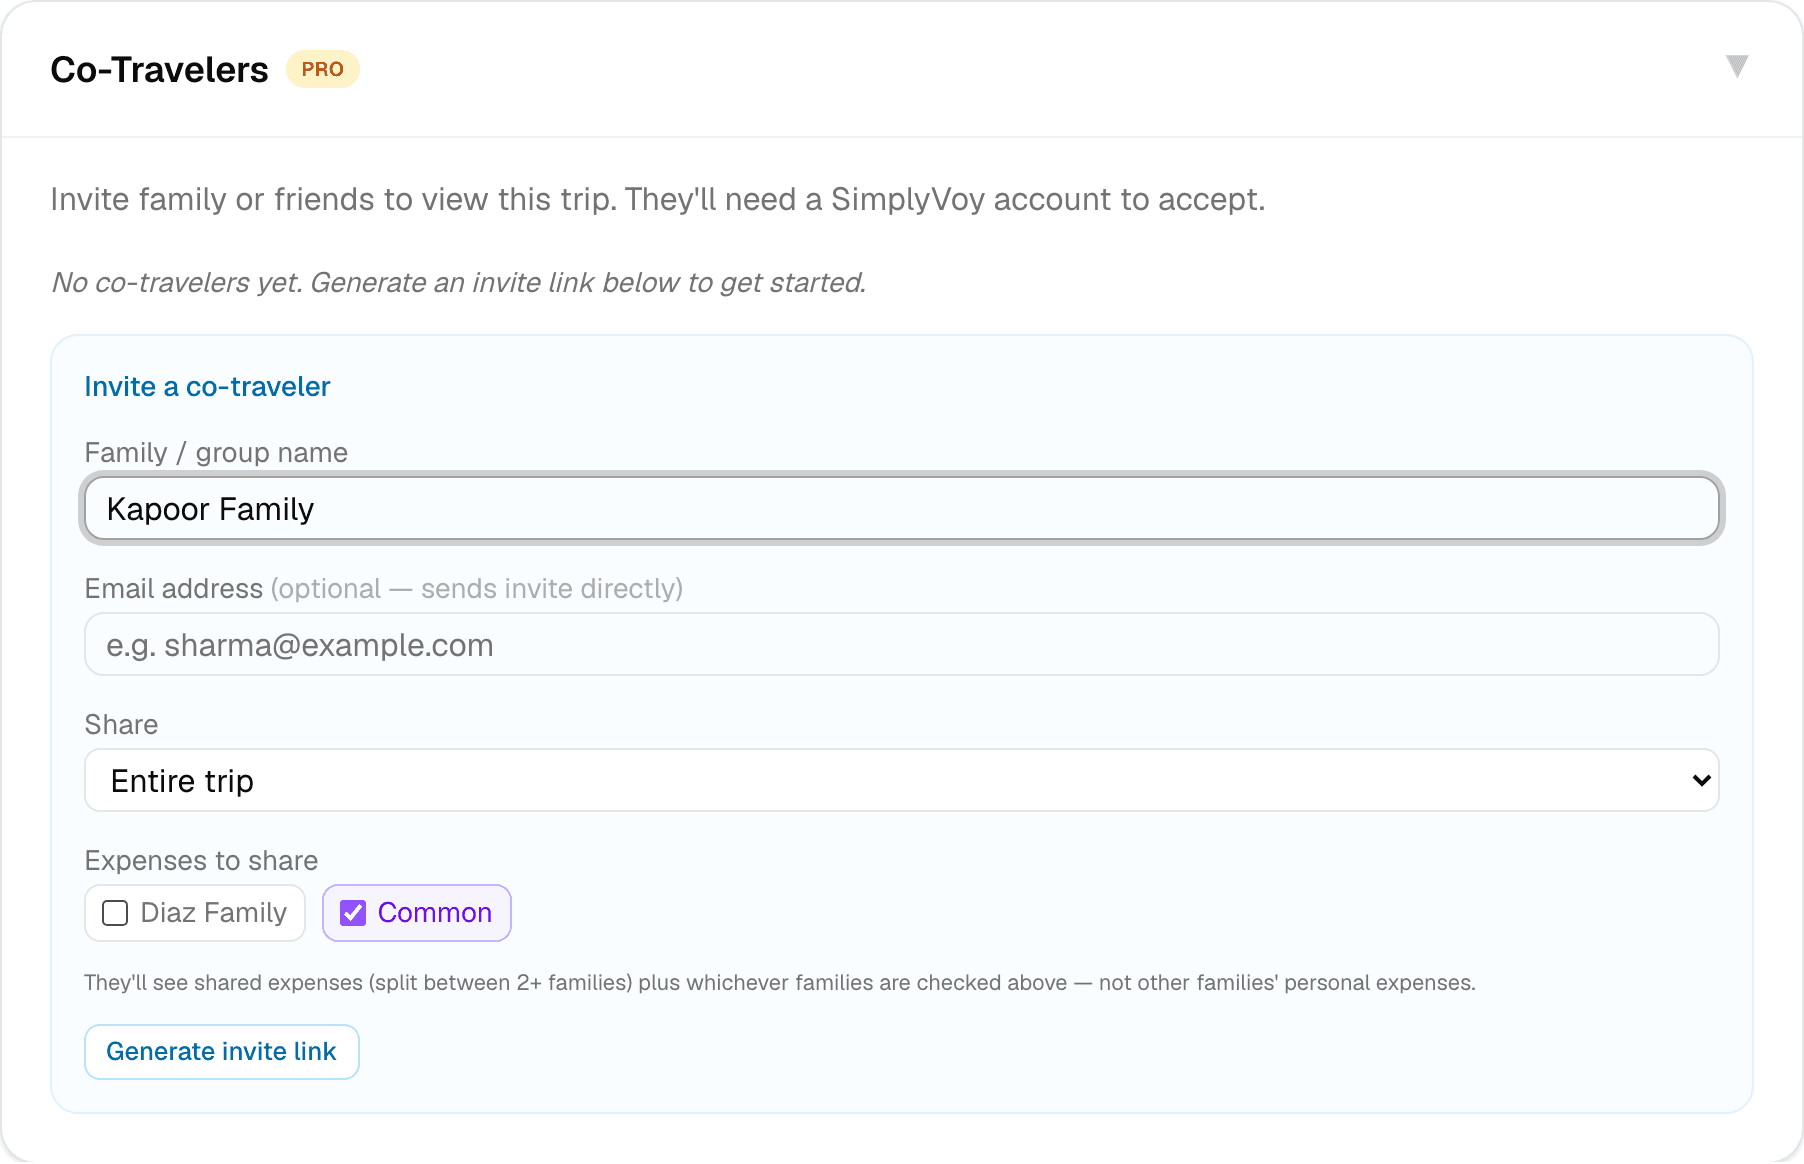
Step 1 of 3 — Name who you're inviting and what they'll see.
How to Invite Co-Travelers to Your Trip
Planning solo is fine, but most trips are a group effort. Invite your co-travelers so everyone can see the itinerary, log expenses, and stay in sync — no separate group chat required.
Step 1 — Open Co-Travelers
From a trip's Settings tab, find the Co-Travelers section.
Step 2 — Name who you're inviting
Enter a Family / group name — this is how they'll appear throughout the trip (in the itinerary, expenses, everywhere).
Step 3 — Choose what they can see
Under Share, pick how much of the trip they get access to:
- Entire trip — itinerary and expenses
- Itinerary only — no expense visibility
- Expenses only — no itinerary visibility
If you allow expenses, you can also choose exactly which expenses they see — see the next guide on sharing and privacy for the details.
Step 4 — Generate the invite
If you have their email, enter it and SimplyVoy sends the invite directly. Otherwise, tap Generate invite link and share it yourself — WhatsApp, iMessage, email, however you'd normally reach them.
Step 5 — They accept
Your invitee needs a SimplyVoy account to accept. Until then, they show up in your Co-Travelers list with a Pending badge. Once they accept, the badge changes to Accepted and the trip appears on their Trips page too.
A couple of things to know
- You can revoke a pending invite anytime by removing them from the list — the link stops working immediately.
- Once someone's accepted, you can toggle their permissions between view-only and full editing.