
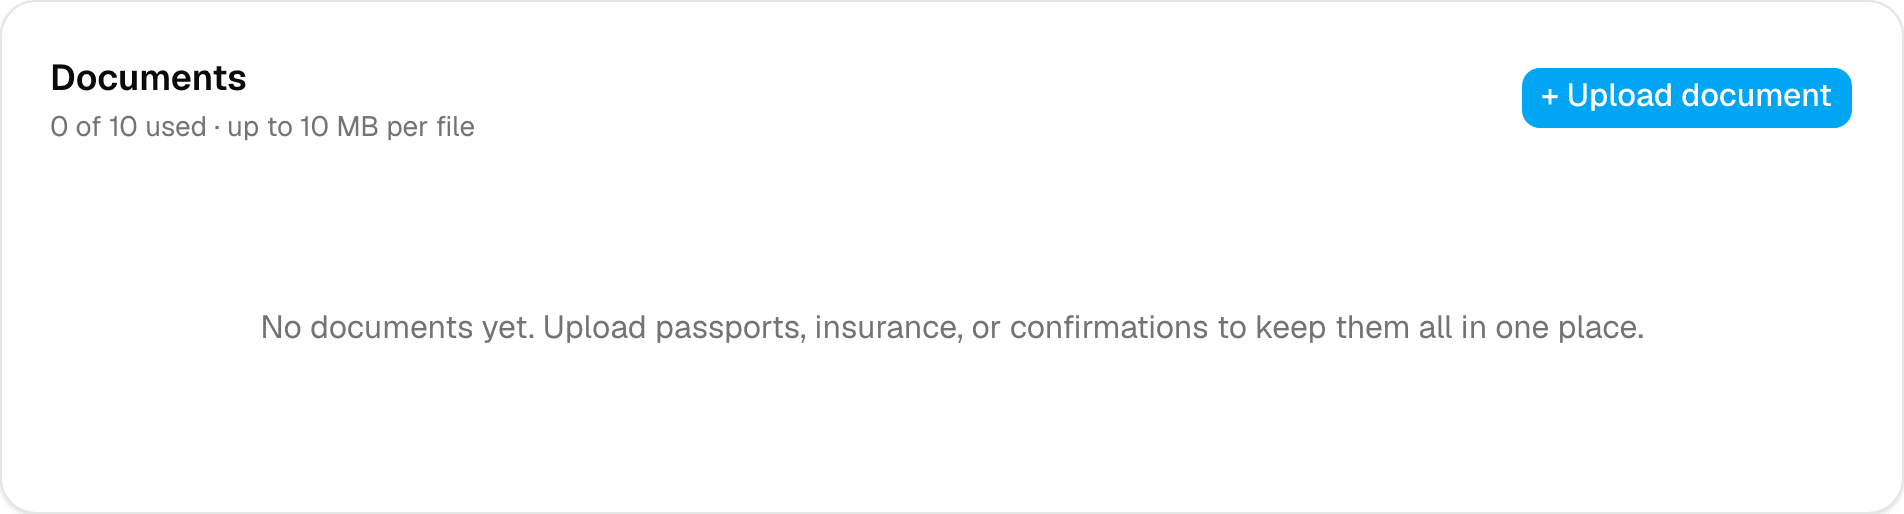
Step 1 of 3 — Every trip has its own Documents tab.
How to Upload and Manage Trip Attachments
Boarding passes, hotel confirmations, travel insurance, passport scans — keep them attached to the trip itself instead of digging back through your inbox.
Step 1 — Open Documents
Open a trip and go to the Attachments tab (labeled Documents).
Step 2 — Upload a file
Tap + Upload document, then drop a file onto the drop zone or click to browse. Images, PDFs, Word docs, and Excel files are all supported, up to the per-file size limit shown.
Step 3 — Find it anytime
Every uploaded file appears in the list with its name, size, and upload date. Tap Download to get it back, or Delete to remove it.
Attaching a file to a specific itinerary item
Beyond trip-level documents, you can also attach a file directly to a single itinerary item — useful for keeping a hotel's confirmation PDF right on that hotel's card instead of the general Documents list. Look for the small attachment icon on the item itself.
A couple of things to know
- Storage is private — files are only ever accessible to you and anyone you've shared the trip with, never publicly.
- Your plan sets how many documents you can store per trip and the max file size — the counter at the top of the Documents tab always shows exactly where you stand.
- Deleting an itinerary item removes its attached files along with it, so download anything you want to keep first.